Git Workflow - Projects
Github Account
By now you should have done these things:
- Signed up for an account on Github
- Requested and received educational status with Github
- Sent me your Github user name
- Accepted my invitation to join the folchcourses Github organization
If you have not done all of these,
follow the steps here.
"Forking" your personal (private) course repository
In what follows we will be using the example of a student named
Joe Johnson, with the Github user name of
geonole. You
should replace this with your GitHub user name in the steps that
follow.
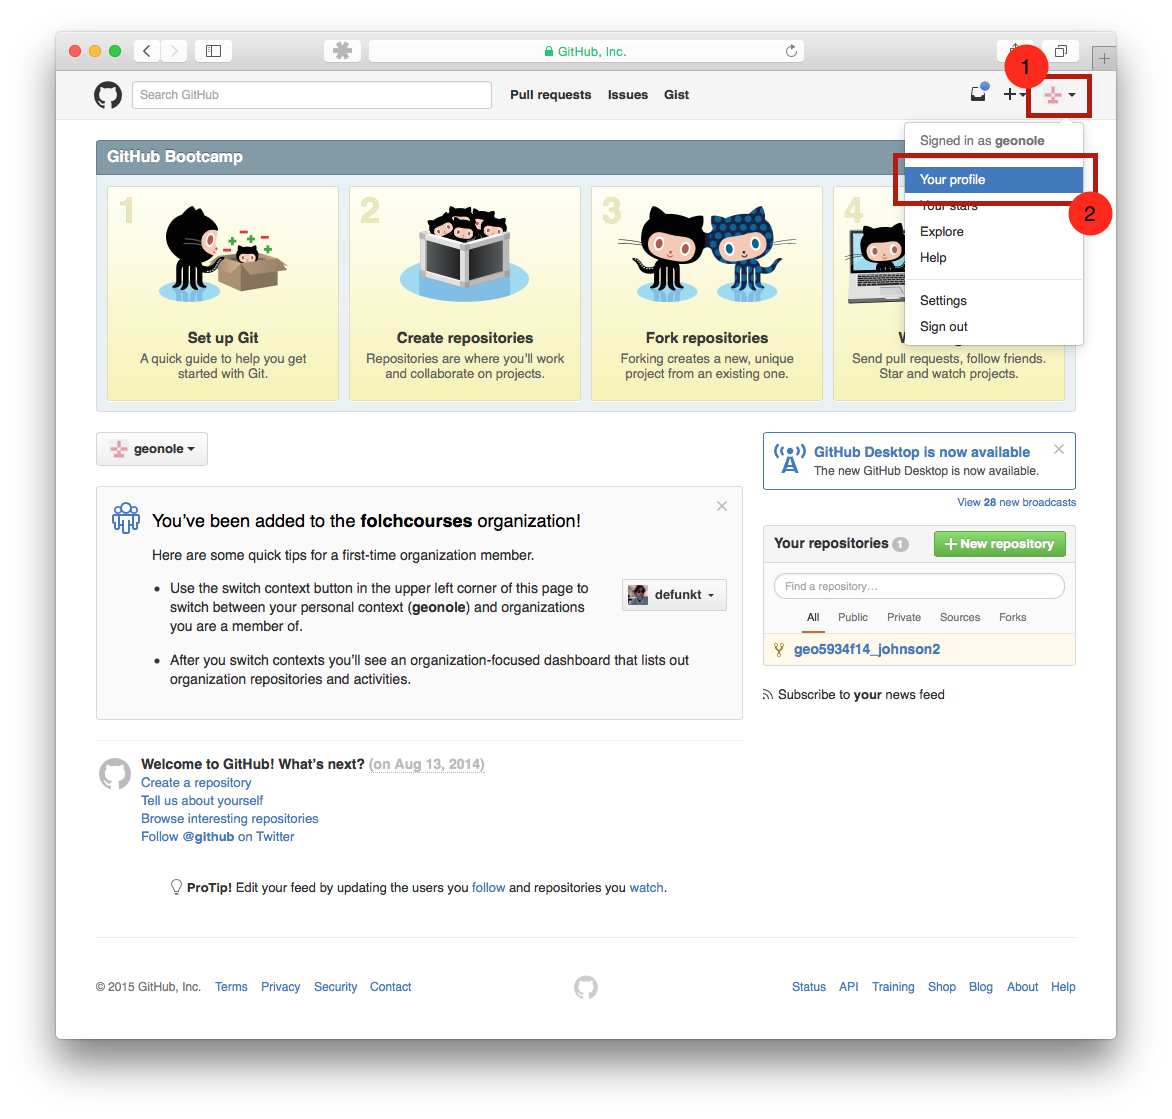
- Login to Github
- Click your user name in the upper-right corner. example
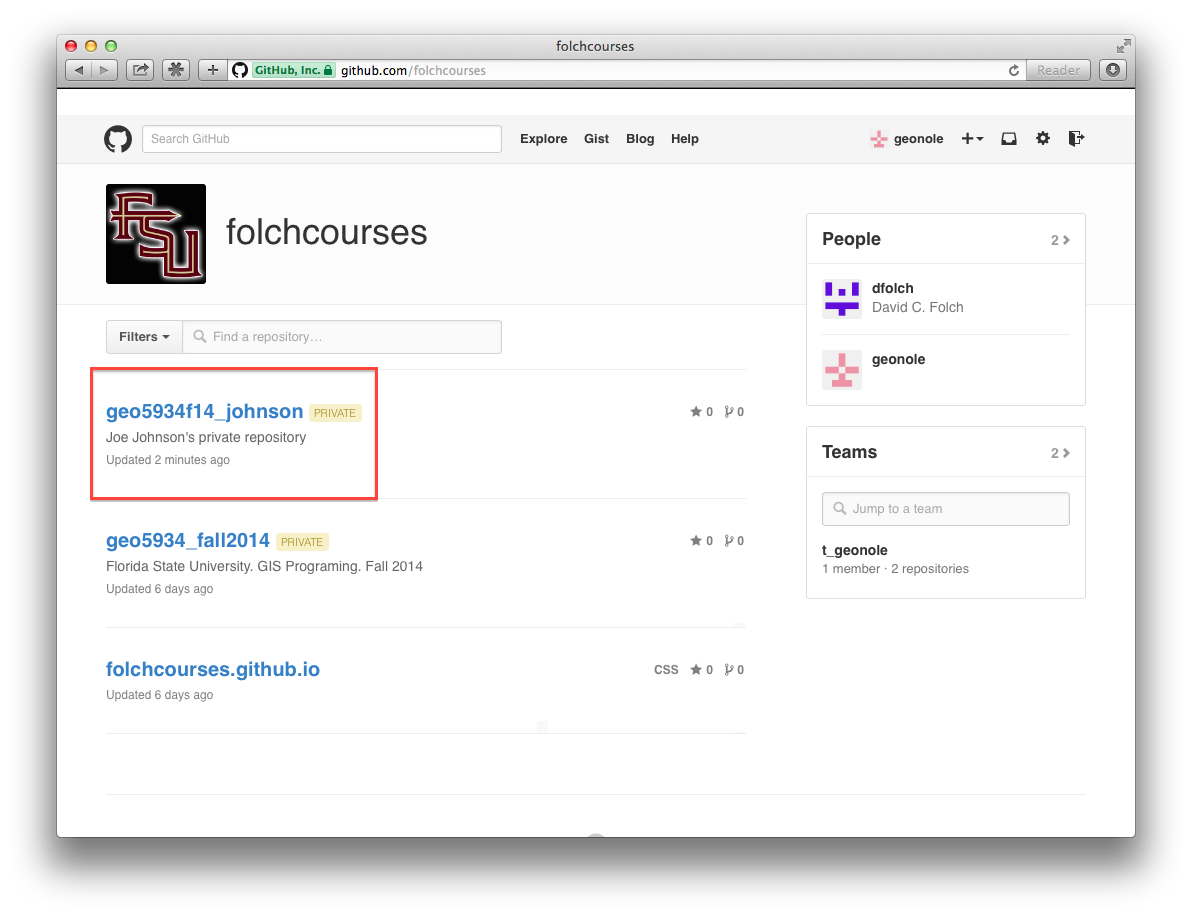
- Click the folchcourses icon in the lower-left corner. example
- Click the repository with your name (there will be a code for course, semester and year). example
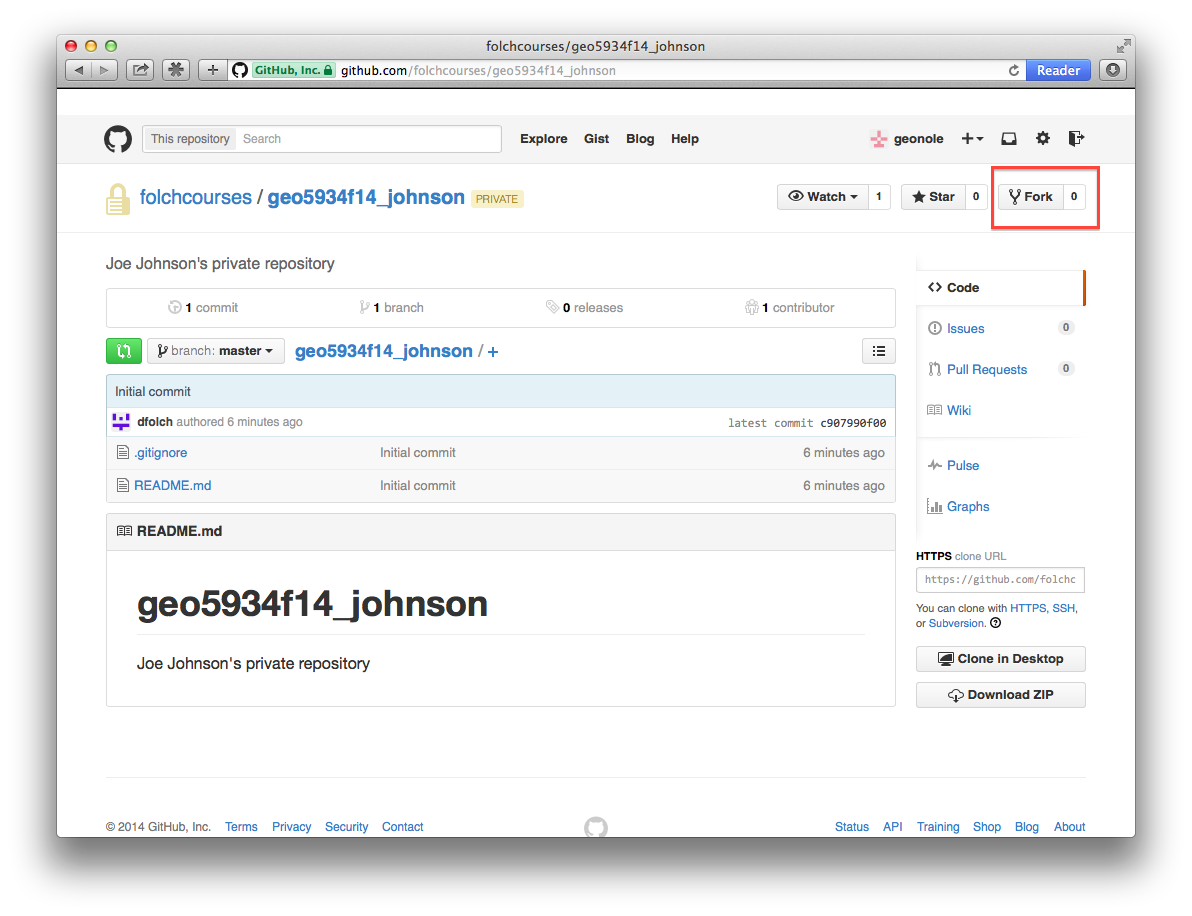
- Click "Fork" in the upper-right corner to put a copy of the repository under your user name. example
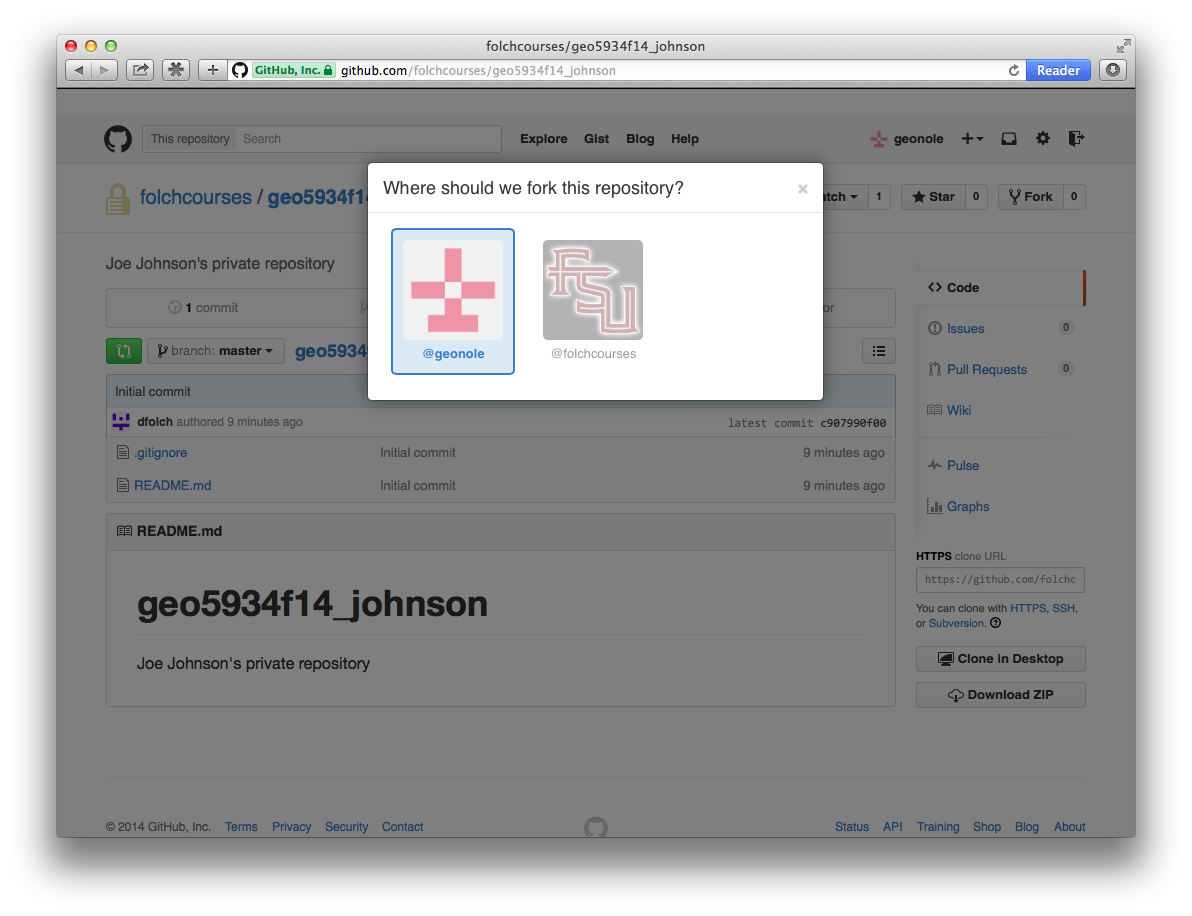
- When prompted Where should we fork this repository? select your individual GitHub account example
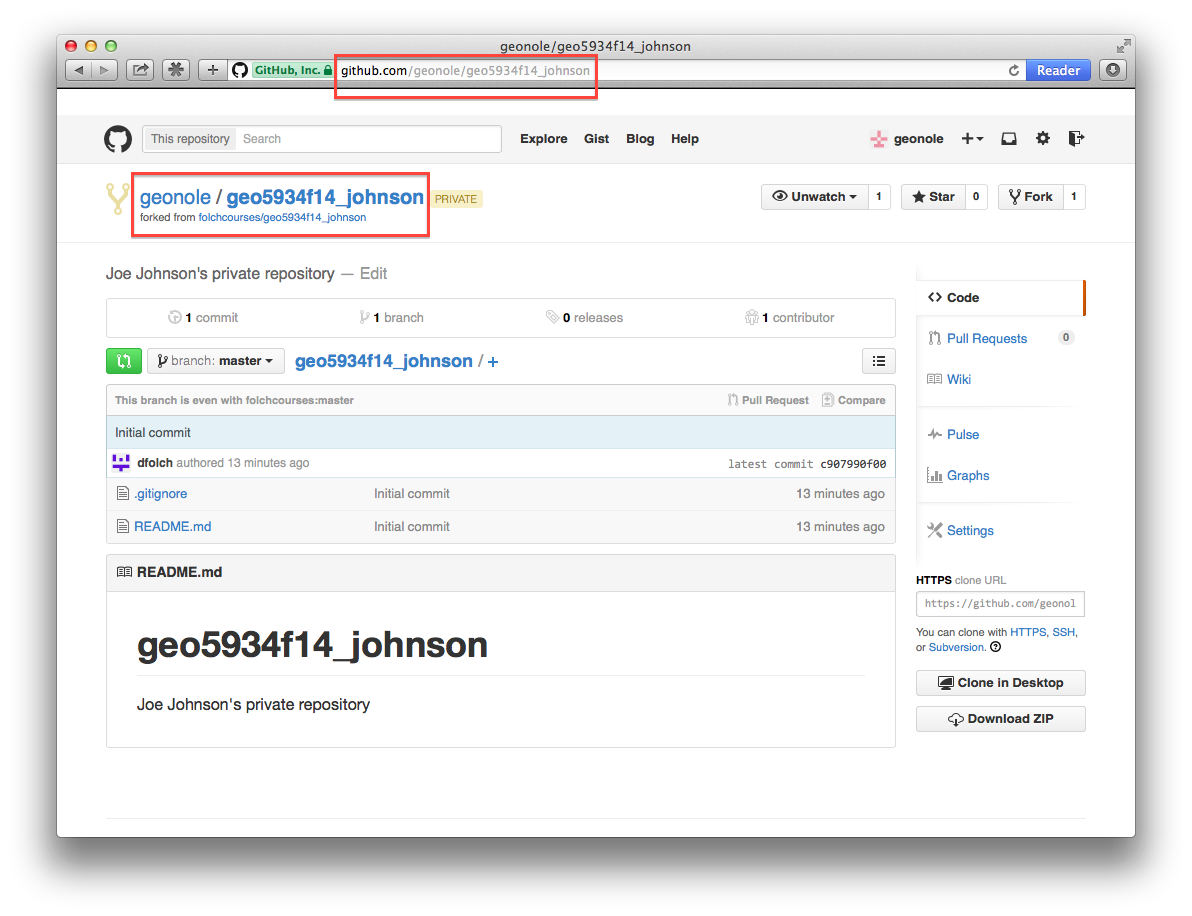
- When GitHub is finished creating the fork, you will be relocated to the copy that resides on your individual GitHub account example
Making changes in your repository
You will now start working on your forked repository.
If this is your first time using GitHub just use the GitHub online
editor. Once you have completed all the steps (including the "pull
request" in the next section), come back here to start working on your
local hard drive.
Using the GitHub online editor
- If you're not on the landing page for your repository: log in, click your user name in the upper-right, click the Repositories tab in the middle and click the name of your personal course repository.
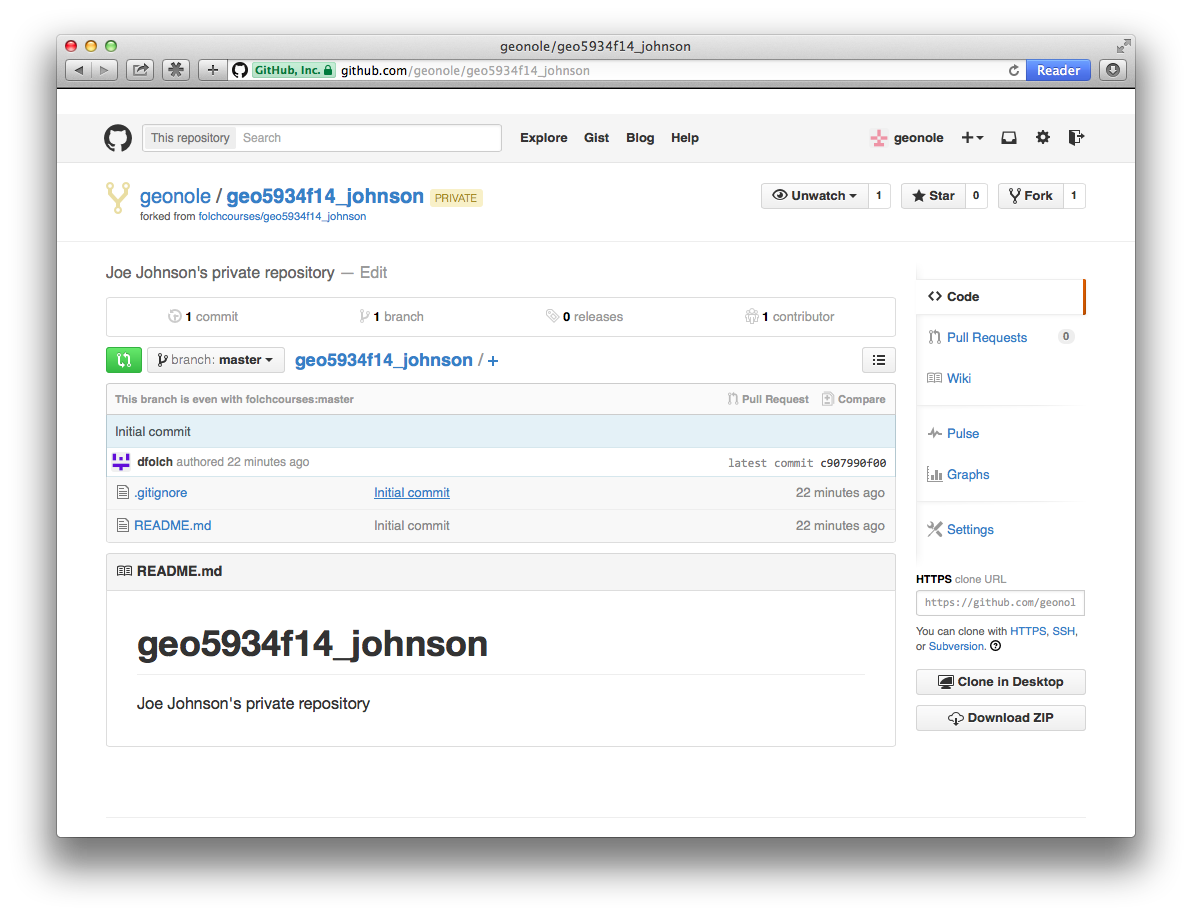
- Click the link README.md. example
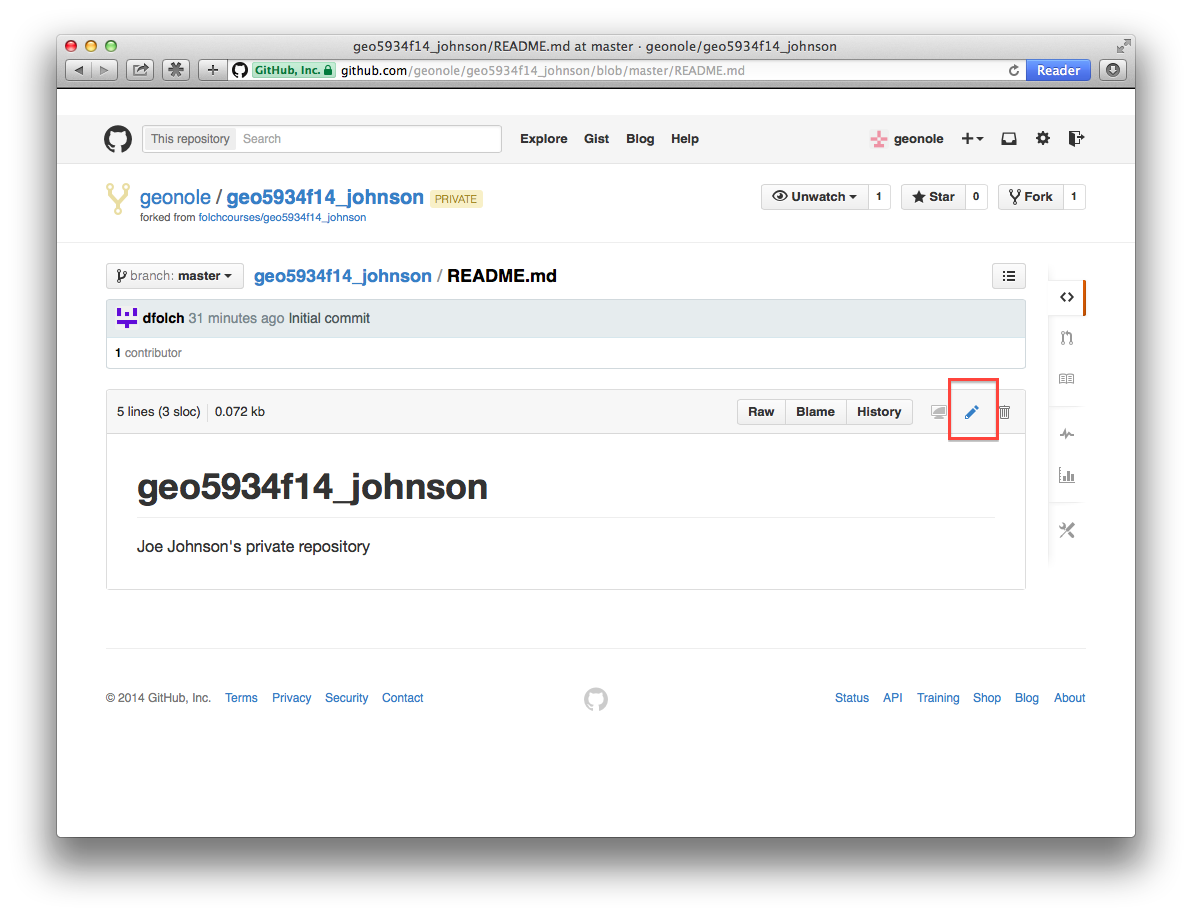
- Click the Edit button, which brings up the contents of the file in an editor pane. example
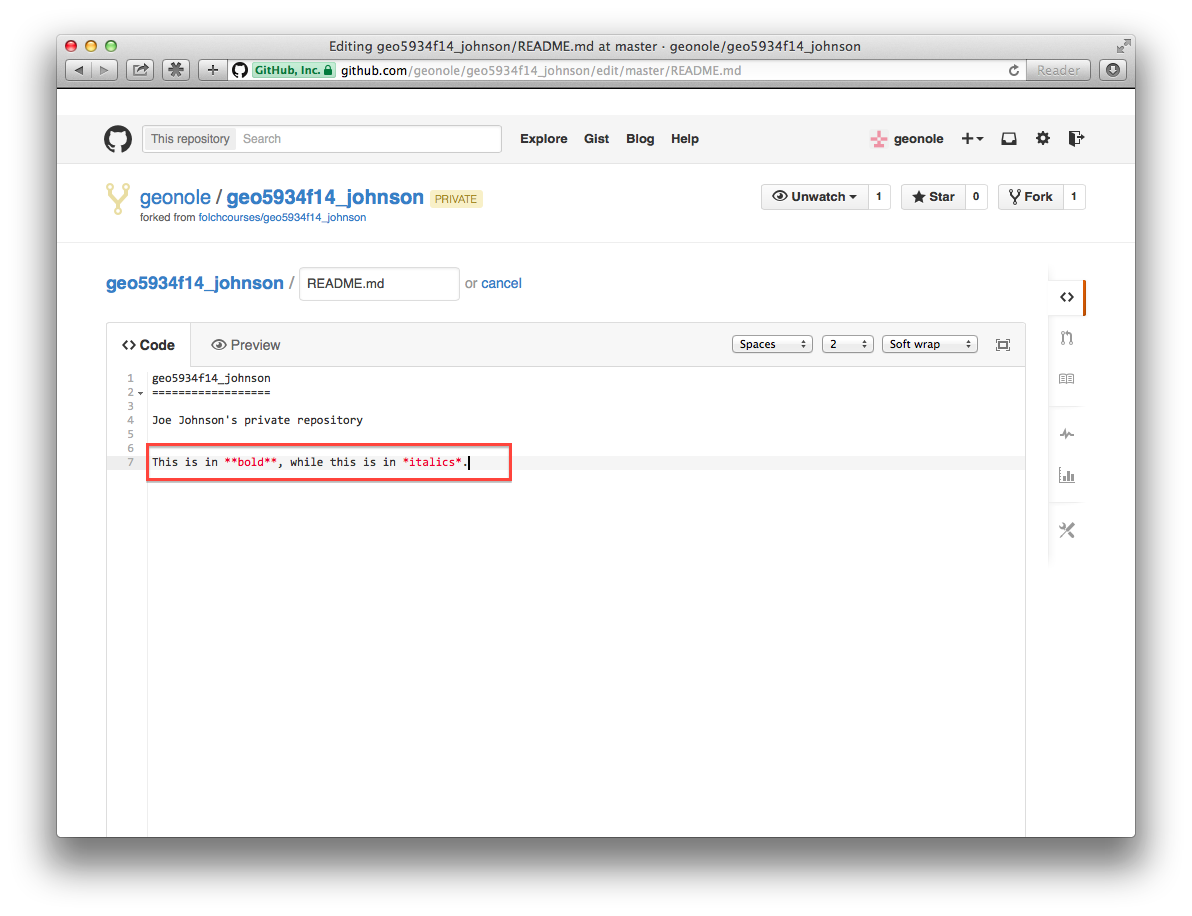
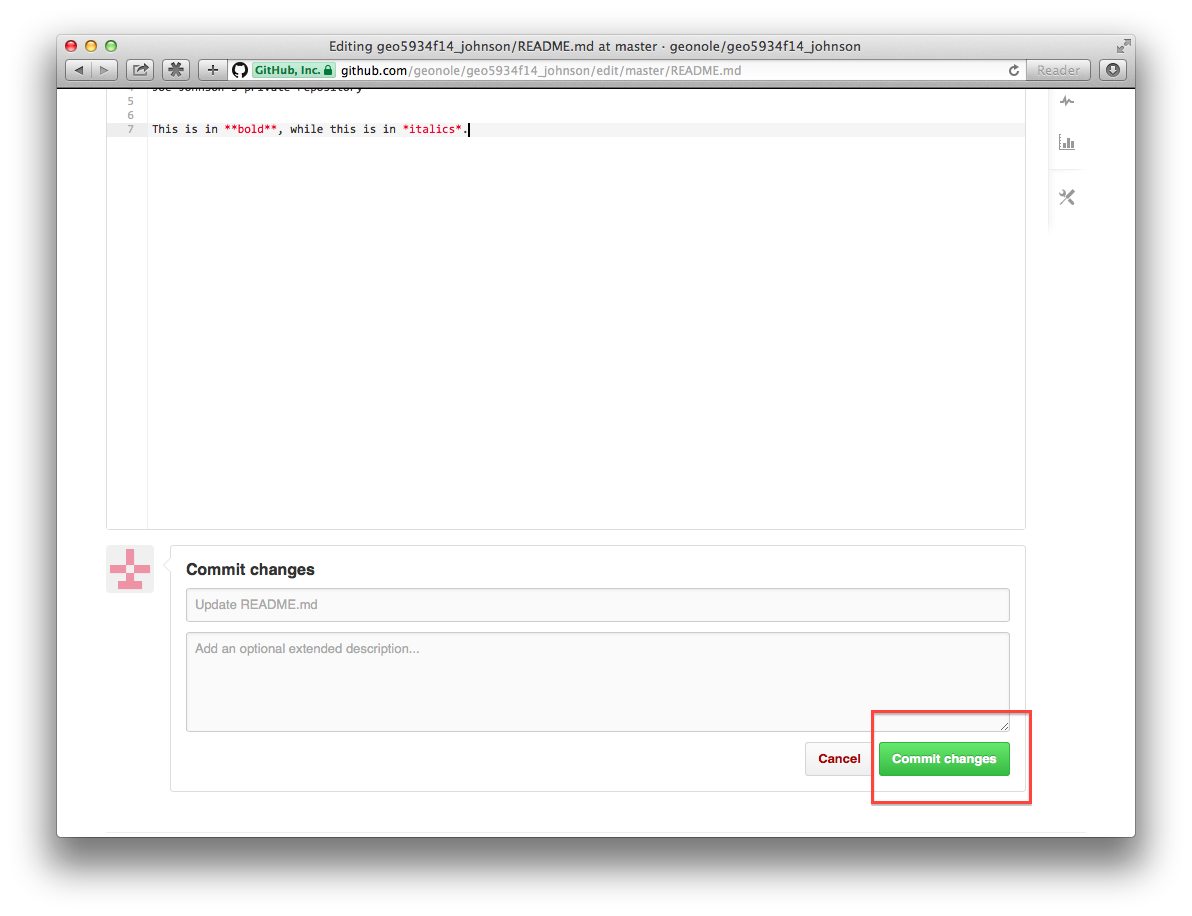
- Make some changes. example
- Click Commit Changes in the lower-right. example
Congratulations, you have made your first commit on GitHub!
Setting up your local hard drive
Typically you will create and edit files directly on your local hard
drive. These files can be pulled from or pushed to the GitHub cloud
using a graphical user interface (GUI).
Follow these steps to get started with the GUI (only the first time you use it).
- Download the appropriate software for your computer, and install it.
- Startup the GUI, and follow the steps to link your GitHub account to the GUI.
- "Clone" the fork of your personal repository (the one located
under your user name, not the folchcourses name) to your local hard drive.
Follow these steps for day-to-day work
- Create or edit file(s) in the repository on your hard drive (you're not using the GUI for this).
- Using the GUI, "add" all the changes you've made.
- Using the GUI, "commit" all the changes you've made.
- Using the GUI, "push" the commit to your repository on the GitHub cloud.
Note: If you are not able to push content to your personal repository it
might be because you cloned the folchcourses version and not your
personal fork of it.
Issuing a "Pull Request"
At this point the edits are only in the fork of your student repository,
whether you used the online editor or pushed files from your local hard drive.
Let's say you are ready to submit the changes to me for grading or review.
This is done using a "pull request." Basically this tells me that you are
ready to have me look at the changes from your fork by merging those changes
into the repository on the organizational account.
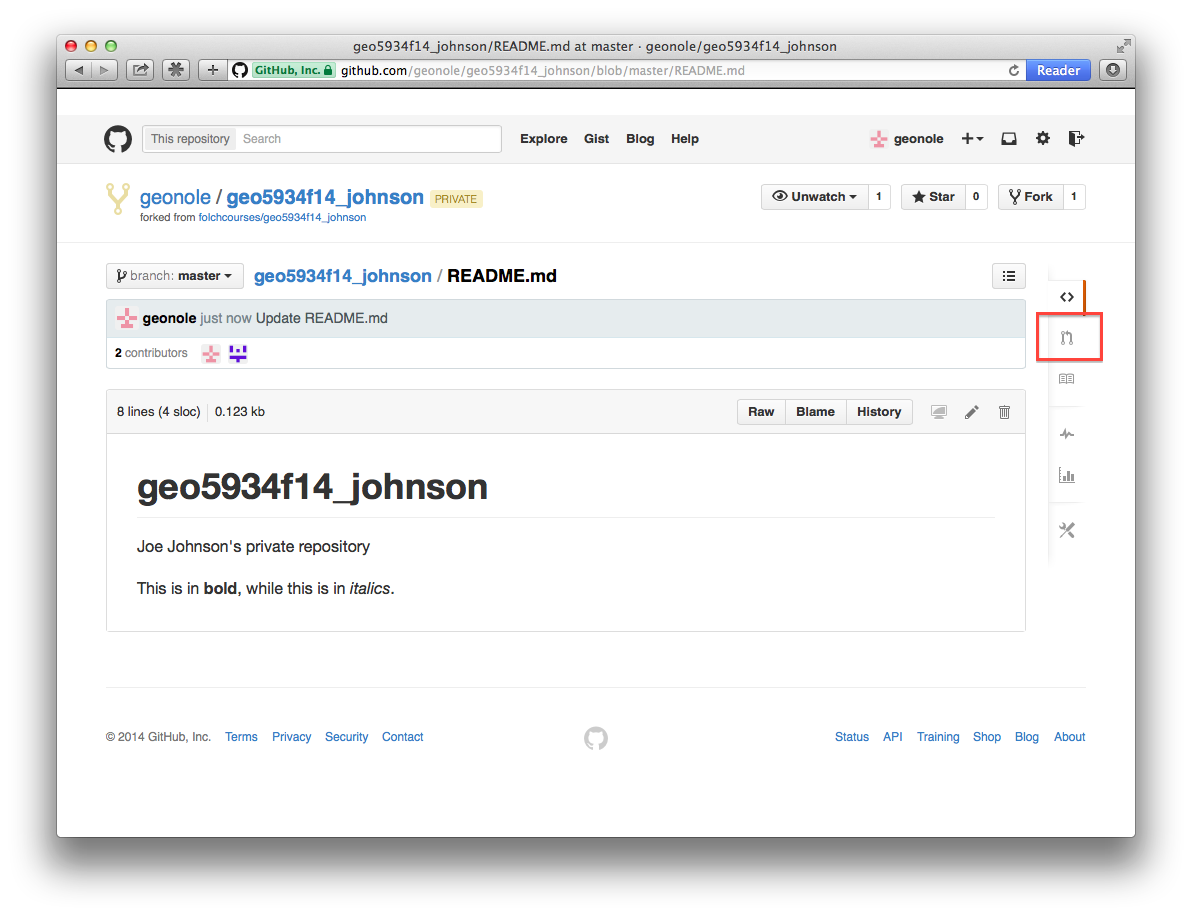
- On your landing page for the fork on your personal GitHub page select the Pull Request button on the right. example
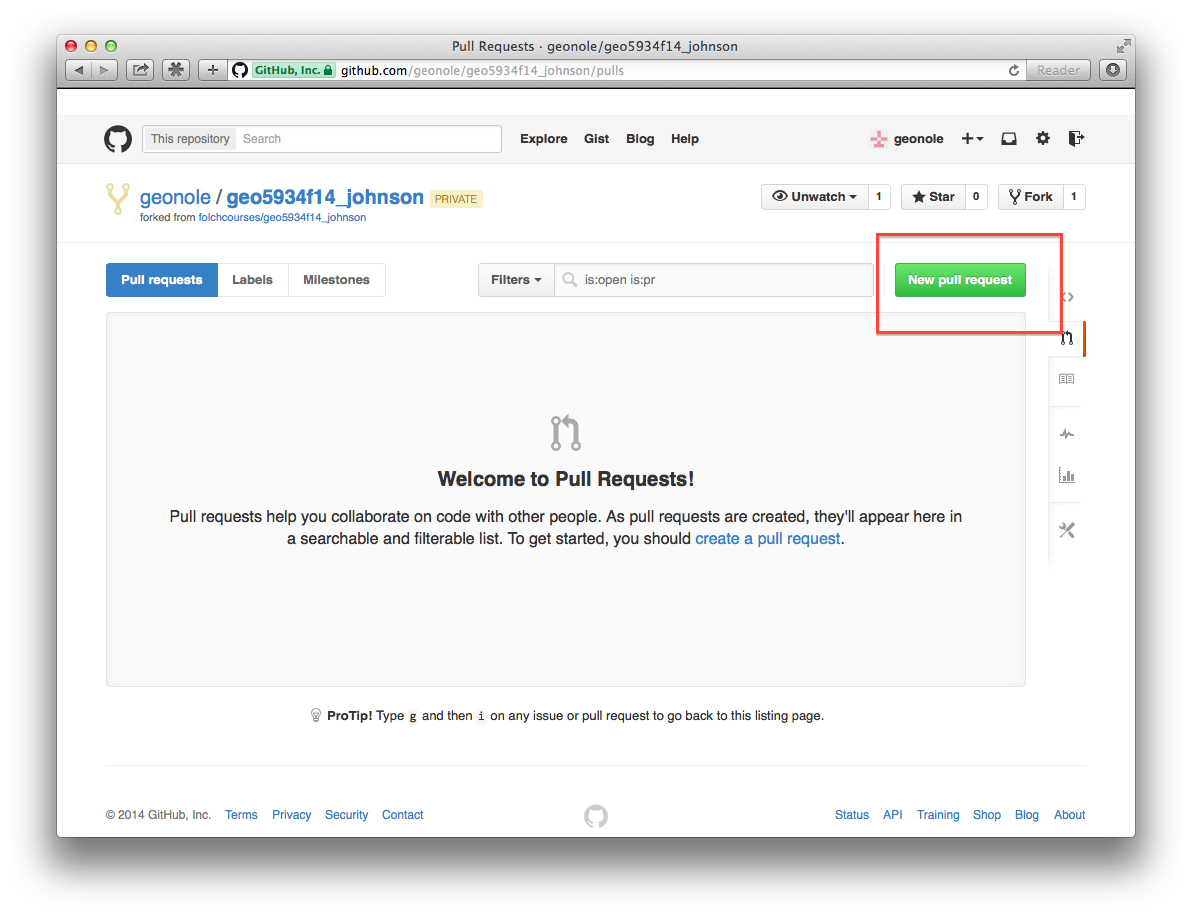
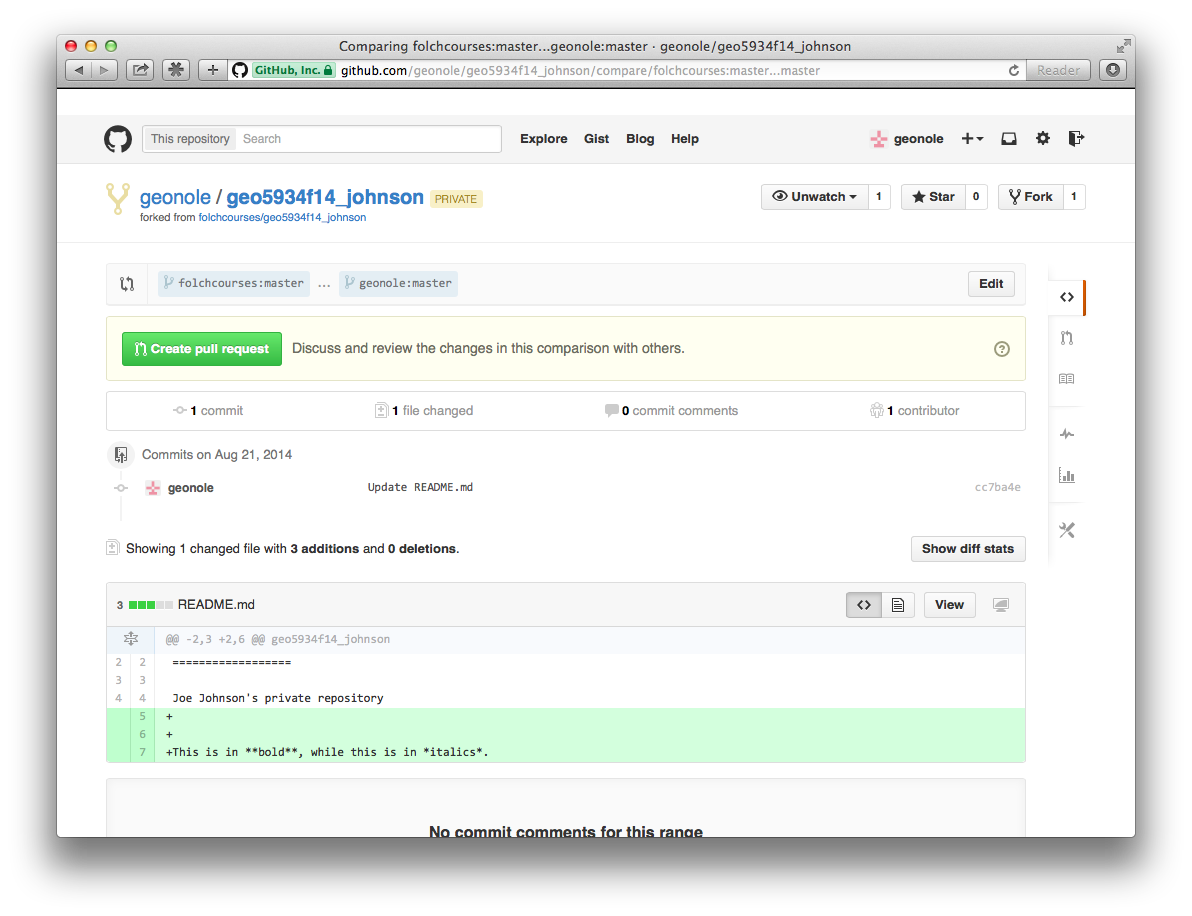
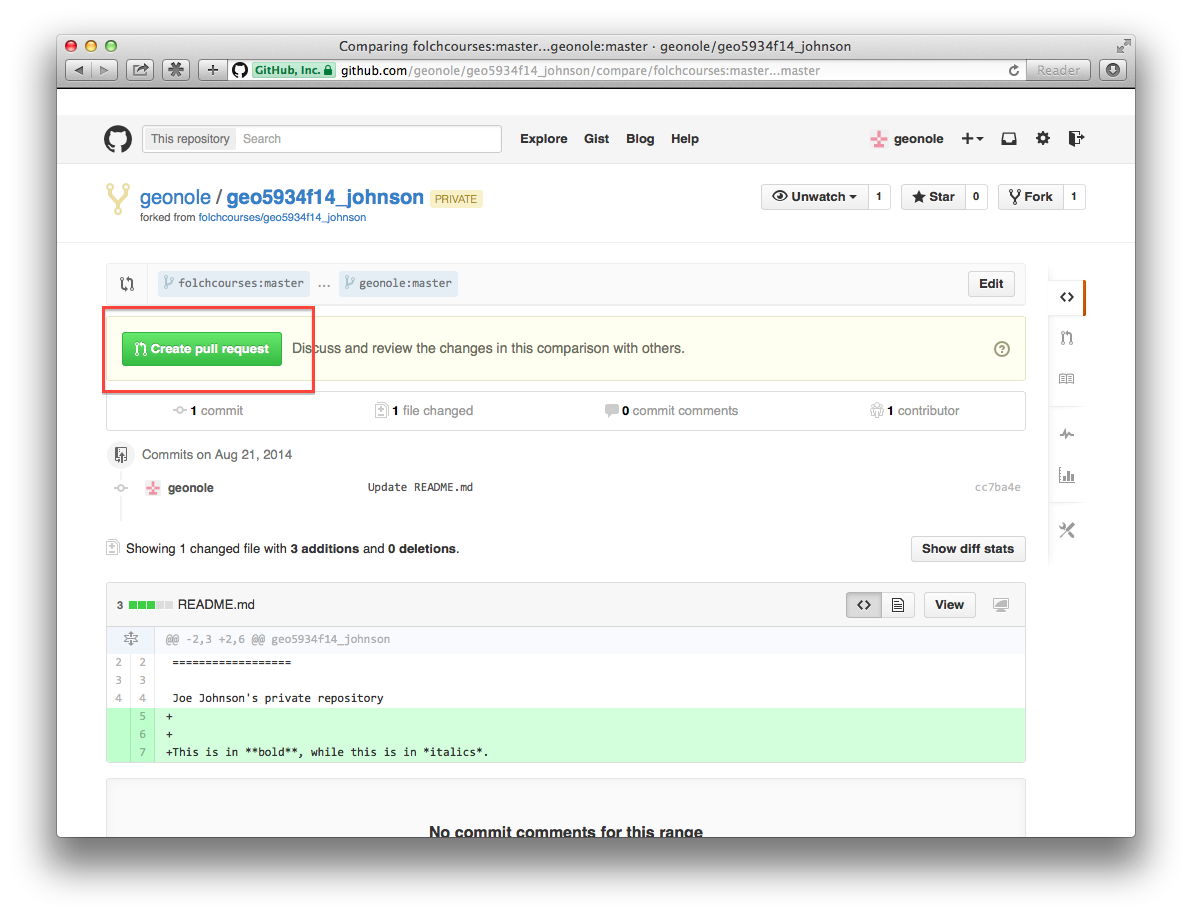
- In the next page, click the New pull request button on the upper-right. example This will bring up a new page showing the changes that you previously made and which would be incorporated into this pull request. example
- Click the green Create pull request button located on the left. example
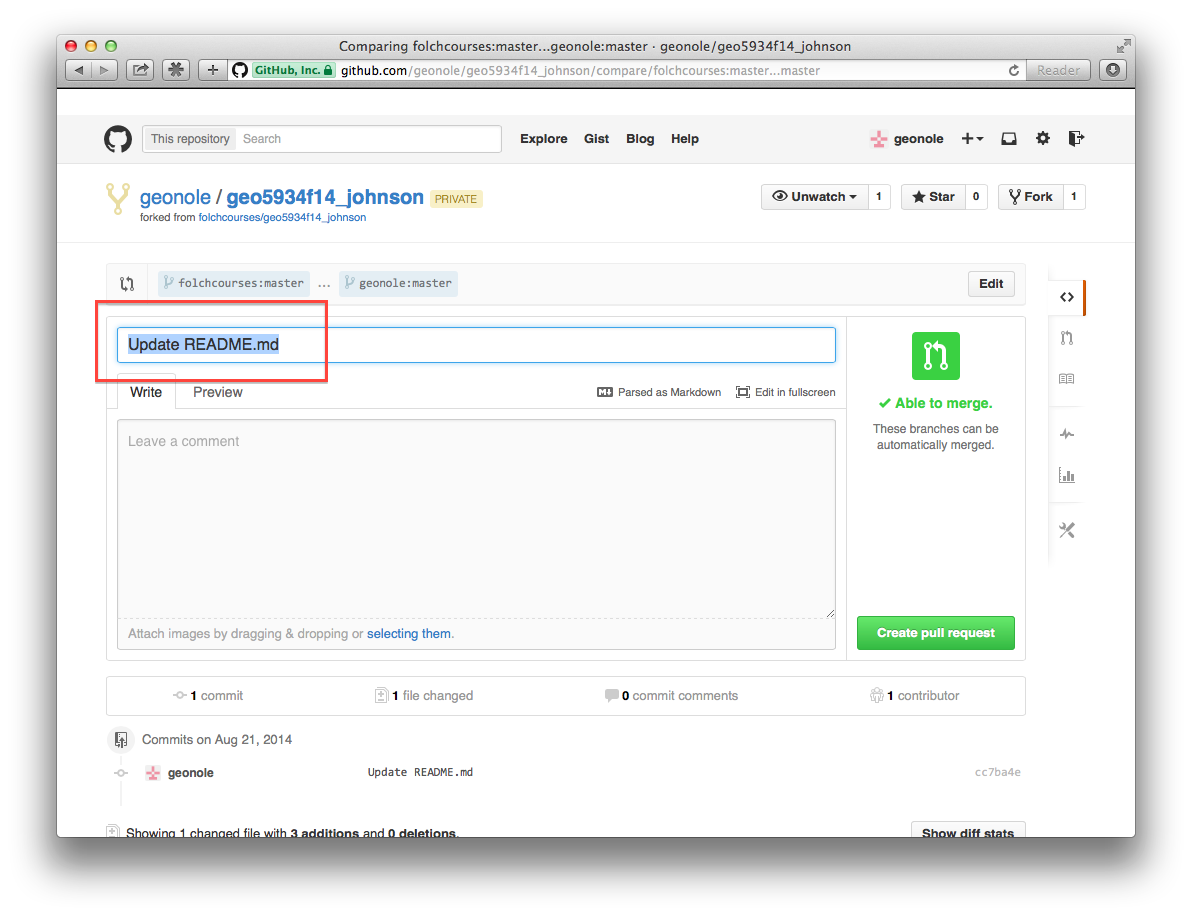
- Replace Update README.md in the text field with something more descriptive like minor edits while learning github. example
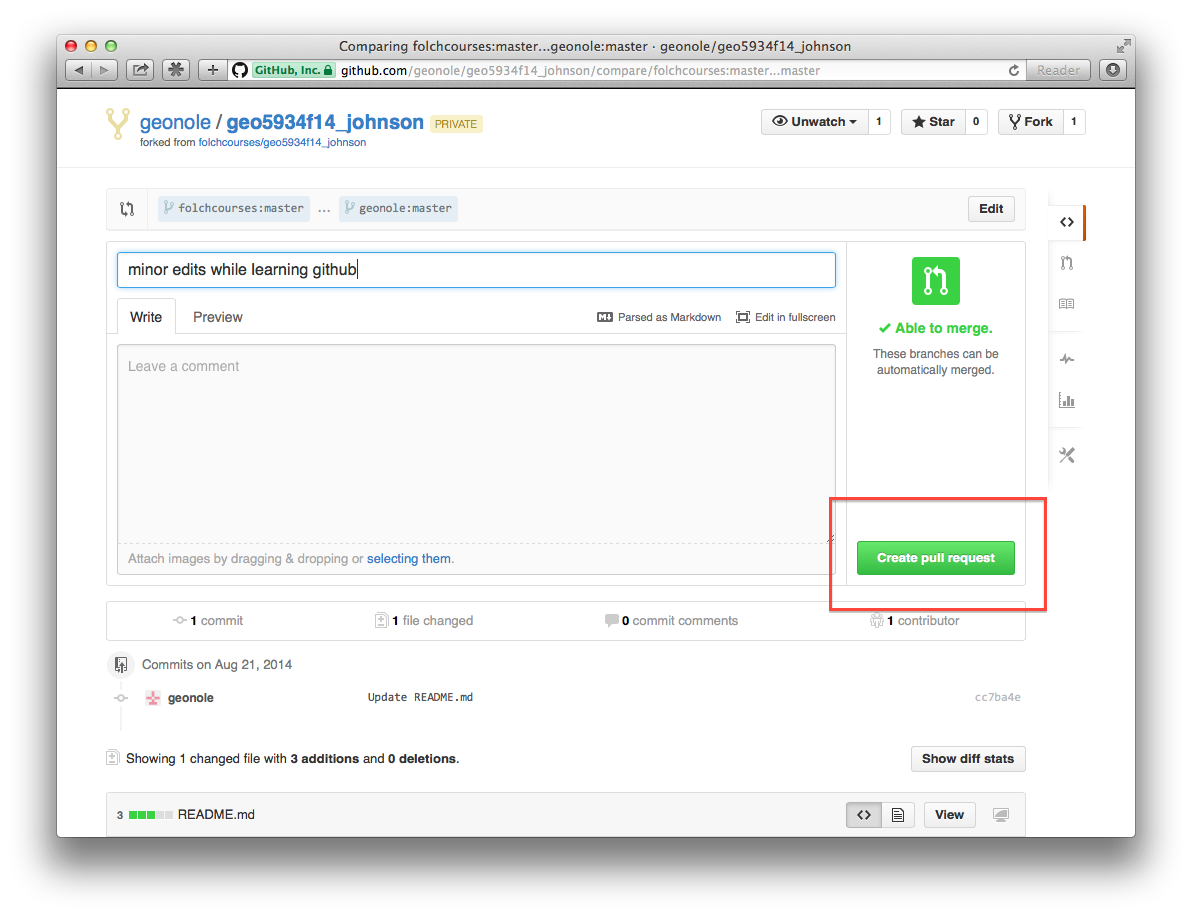
- Click the green Create pull request button located on the right. example
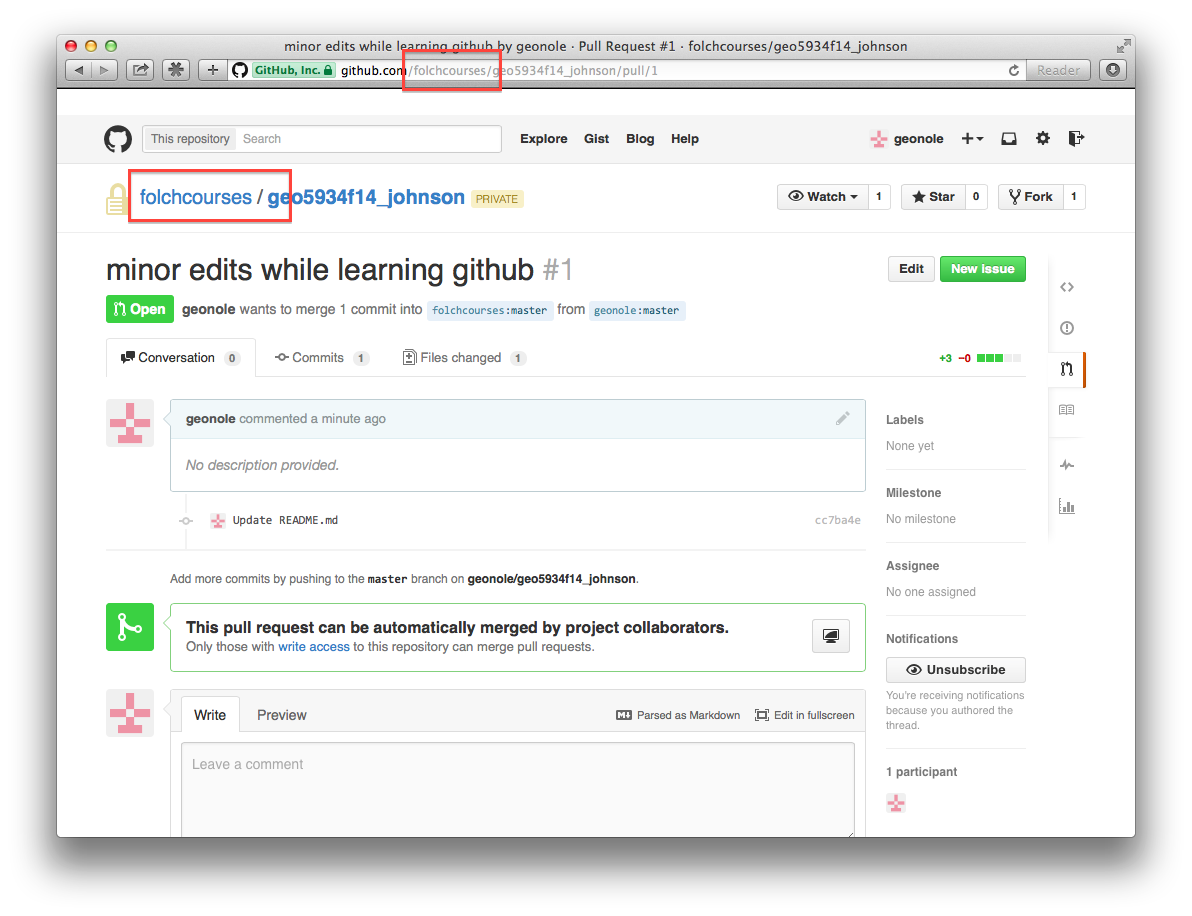
- This moves you over to your student repository on the organizational account where you can see the pending pull request. example
You are done with the pull request at this point. I will receive a
notification that tells me you have a pull request submitted that I need to
look at. On my side I will examine it, grade it if it is an assignment, leave
feedback and then do one of two things. If the assignment is finished I will
"merge" the pull request. If it needs some changes I will send you a note
telling you what needs to be changed. You can make changes and they will be
added to the pull request automatically.
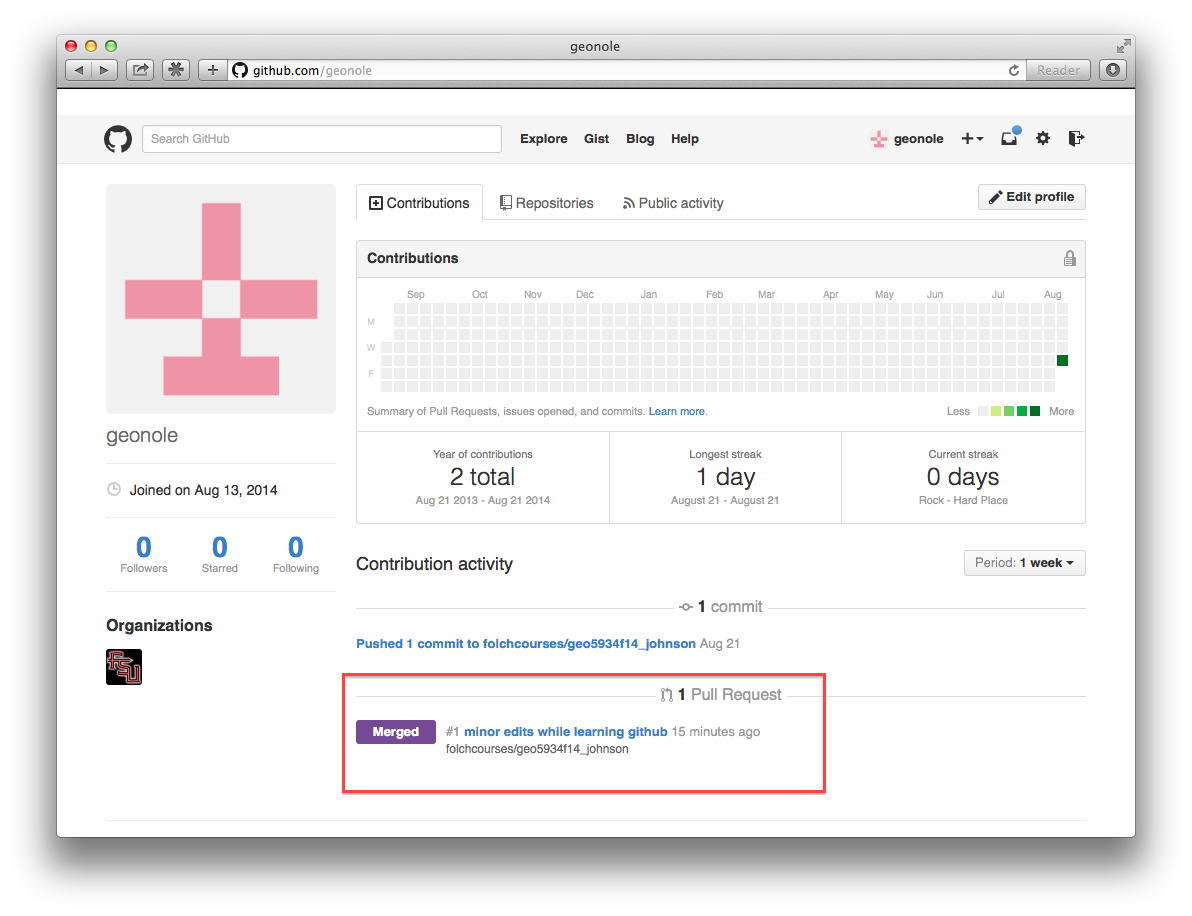
Once the pull request is good for the merge I will merge it. The result will
be an update to your student account on the course organizational page. On
your personal GitHub page you will see that it was merged. example
Hosted on GitHub Pages — Theme by orderedlist